
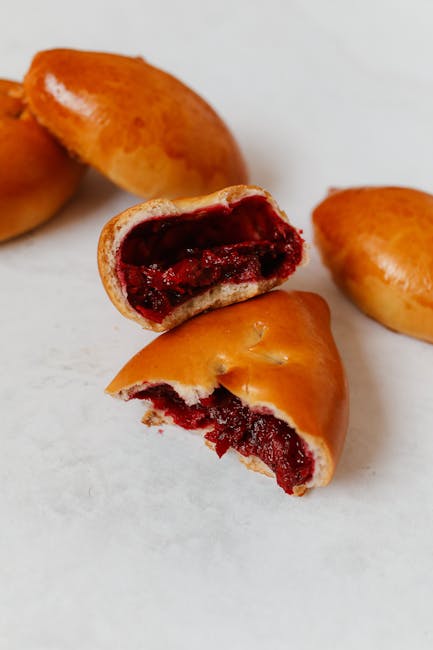
Welcome to the land of pirozhki perfection, where golden-brown pockets of dough filled with savory goodness reign supreme. If you’ve ever dreamed of sinking your teeth into a delicious Russian treat that will transport you straight to the streets of Moscow, then you’re in luck. Get ready to embark on a culinary adventure with our authentic Russian pirozhki recipe that will have you saying ”dasvidaniya” to bland meals forever. So grab your apron and get ready to impress your taste buds with a savory delight like no other!
Contents
Ingredients for Authentic Russian Pirozhki
So, you want to make authentic Russian pirozhki, huh? Well, you’re in luck because I’ve got the inside scoop on the essential ingredients you’ll need to transport your taste buds to the frosty streets of Moscow!
First up, you’ll need some **flour**. And not just any ol’ flour will do. You’ll want some good ol’ fashioned all-purpose flour to give your pirozhki that perfect fluffy texture. Don’t even think about using cake flour or self-rising flour – those won’t cut it.
Next, you’ll need some **meat**. Traditionally, pirozhki are filled with a savory mixture of ground beef, onions, and spices. The key here is to make sure your meat is seasoned to perfection – bland meat is a one-way ticket to Disappointmentville.
Don’t forget about the **dough**! You’ll need some yeast, milk, eggs, and butter to create that pillowy soft crust that Russian pirozhki are known for. And let me tell you, there’s nothing quite like biting into a warm, buttery pirozhki straight out of the oven. Trust me, it’s worth the effort!
Preparing the Dough
So you’ve decided to embark on the glorious task of . Congratulations, you’re about to embark on a journey that will ignite your senses and leave you covered in flour!
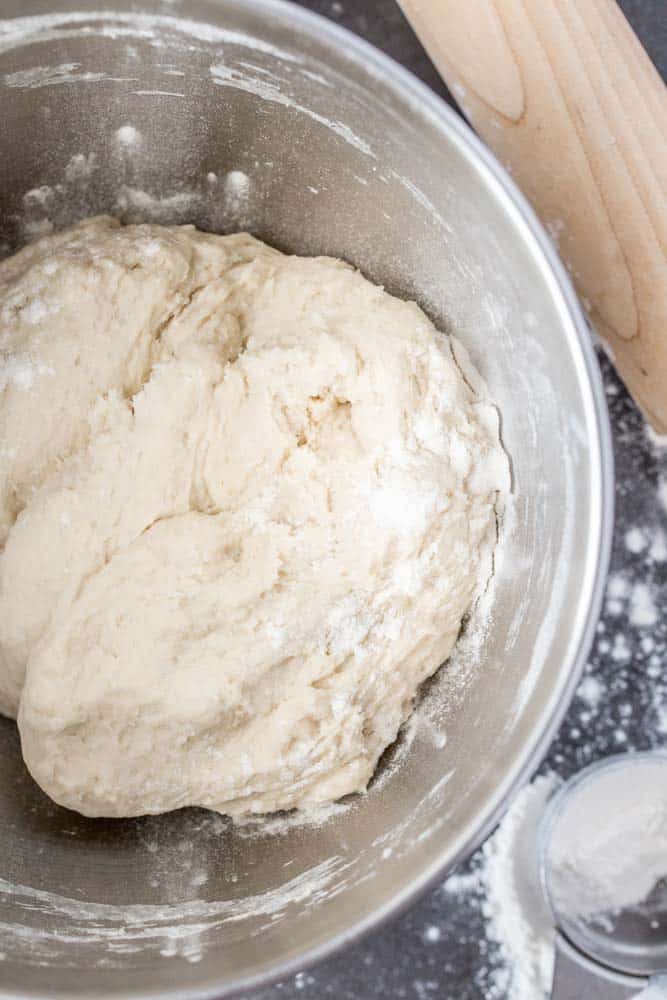
First things first, gather your ingredients like a magician preparing for a show. Flour, water, yeast, and a dash of salt – these are the magical elements that will bring your dough to life. Mix them together like a mad scientist concocting a potion, creating a sticky masterpiece that will soon transform into a heavenly loaf of bread.
Next comes the kneading, a task that requires the strength of a warrior and the precision of a master chef. Pound, fold, stretch – repeat. Channel your inner baker and let the dough know who’s boss. Remember, a well-kneaded dough is a happy dough!
Once your dough is nice and pliable, let it rest and rise like a lazy teenager on a Saturday morning. Cover it with a towel and let it sit in a cozy corner, soaking up all the warmth and love you’ve given it. In no time, your dough will double in size, ready to be shaped and baked into a delicious masterpiece. And remember – patience is key. Good things come to those who wait, especially when it comes to homemade dough!
Creating the Filling
Now that you’ve conquered the art of making the perfect pastry crust, it’s time to turn our attention to . This is where the magic happens, folks – where sugar, spice, and everything nice come together to form a deliciously decadent treat that will have your taste buds doing a happy dance.
First things first, you’ll need to gather your ingredients. Whether you’re going for a classic apple pie or getting a little adventurous with a chocolate cream filling, make sure you’ve got everything you need before you start. And don’t forget the secret ingredient – a sprinkle of love.
Once you’ve got your ingredients ready to go, it’s time to get mixing! Combine your fruits, sugars, and spices in a large bowl and give it a good stir. Taste testing is encouraged – after all, you want to make sure your filling is just right. And if you’re feeling extra fancy, throw in some nuts or a splash of booze for an added kick.
Finally, pour your filling into your prepared pie crust and get ready to pop that baby in the oven. As it bakes, the smells of cinnamon, vanilla, and happiness will fill your kitchen, making it nearly impossible to resist sneaking a taste. But trust me, it’ll be worth the wait. So sit back, relax, and let your soon-to-be masterpiece work its magic.
Assembling the Pirozhki
After you’ve whipped up that delicious pirozhki dough, it’s time for the fun part – assembling these tasty treats! Grab your filling mixture and let’s get started.
First, roll out the dough on a clean, flour-dusted surface. Cut the dough into small circles using a biscuit cutter or even the rim of a glass. These little circles will serve as the base for your pirozhki.
Next, spoon a generous amount of your filling onto each dough circle. Remember, you don’t want to overstuff them or risk a messy explosion in the oven! Fold the dough over the filling and crimp the edges with a fork to seal in all that deliciousness.
Arrange your assembled pirozhki on a baking sheet lined with parchment paper. Brush them with an egg wash for a beautiful golden finish. Pop them in the oven and get ready to be transported to pirozhki paradise!
Baking the Pirozhki to Perfection
Now that you have your pirozhki dough filled and sealed, it’s time to bake them to crispy, golden perfection. Follow these tips to ensure your pirozhki turn out absolutely delicious:
First, preheat your oven to 375°F. This temperature is ideal for baking pirozhki as it ensures the dough cooks through evenly without burning.
Place your pirozhki on a lined baking sheet, making sure to space them out evenly. This allows for air circulation around each pirozhki, resulting in a perfectly crispy exterior.
Brush the tops of your pirozhki with a beaten egg wash before popping them in the oven. This will give your pirozhki a beautiful golden color and a shiny glaze that will make them look irresistible.
Serving and Enjoying Your Savory Delight
Who doesn’t love indulging in a delicious savory delight? Whether it’s a steaming bowl of pasta, a perfectly grilled steak, or a mouth-watering curry, there’s something truly special about savoring every bite of a savory dish.
When it comes to serving your savory delight, presentation is key. Don’t just throw your food on a plate and call it a day – take the time to arrange it in a visually appealing way. Consider using colorful garnishes, adding a sprinkle of fresh herbs, or drizzling a flavorful sauce on top for that extra touch of elegance.
And let’s not forget about enjoying your savory delight! Take your time to savor each bite, paying attention to the different flavors and textures that dance on your taste buds. Don’t rush through your meal – give yourself the gift of fully enjoying every delicious morsel.
So, the next time you whip up a savory delight in the kitchen, remember to serve it with style and savor it with gusto. Your taste buds will thank you!
FAQs
How difficult is it to make Russian pirozhki from scratch?
Making Russian pirozhki from scratch is as easy as wrestling a bear in a snowstorm – challenging, but ultimately rewarding. Don’t worry, with a little patience and a lot of flour, you’ll be on your way to pirozhki perfection in no time.
What are the key ingredients needed to make authentic Russian pirozhki?
To achieve that authentic Russian taste, you’ll need some basic ingredients such as flour, yeast, butter, milk, eggs, and of course, your choice of savory filling. Whether you prefer classic potato and onion or a more adventurous cabbage and beef filling, the choice is yours.
Can I make a vegetarian version of Russian pirozhki?
Of course! Vegetarians rejoice, for you can easily swap out traditional meat fillings for delicious alternatives such as mushrooms, spinach, or even a flavorful blend of sautéed vegetables. Who needs meat when you have all these tasty options?
Can I bake the pirozhki instead of frying them?
While frying pirozhki may give them that crispy, golden exterior, you can definitely bake them if you’re looking to cut down on the oil. Just brush them with some egg wash before baking to achieve that beautiful, shiny finish. Your pirozhki will still be delightful, just with a slightly different texture.
How can I serve Russian pirozhki?
Russian pirozhki are best enjoyed hot out of the oven, but they can also be served at room temperature or even cold. Pair them with a dollop of sour cream, a side of pickles, or a simple salad for a truly authentic Russian dining experience. Don’t forget the vodka!
—
Until next time, comrades!
Farewell, my fellow foodies! I hope this authentic Russian pirozhki recipe has left you craving for more. Whether you’re a seasoned chef or just starting out in the kitchen, remember that practice makes pirozhki perfect. So grab your rolling pin, dust off your apron, and get ready to wow your friends and family with this savory delight. And who knows, maybe one day you’ll be hosting your very own pirozhki party. Stay hungry, stay curious, and most importantly, stay fabulous! До свидания! (That’s Russian for goodbye, in case you were wondering) 😉🥟🇷🇺


