
Calling all sweet tooths and lazy bakers! Do you have a craving for something decadent and delicious, but can’t be bothered with turning on the oven? Look no further, because we have the perfect treat for you – a no-bake chocolate pistachio cake that is sure to satisfy your dessert cravings without breaking a sweat. With just a few simple ingredients and minimal effort, you can indulge in a rich and creamy dessert that will have you coming back for seconds (and maybe even thirds). So grab your mixing bowl and your sweet tooth, because it’s time to whip up a dessert that is as easy as it is irresistible.
Contents
Ingredients for Decadent No-Bake Chocolate Pistachio Cake
Let’s dive right into the mouth-watering world of this Decadent No-Bake Chocolate Pistachio Cake! Get ready to indulge your senses with this sinfully delicious dessert.
Here are the key ingredients that will make your taste buds dance with joy:
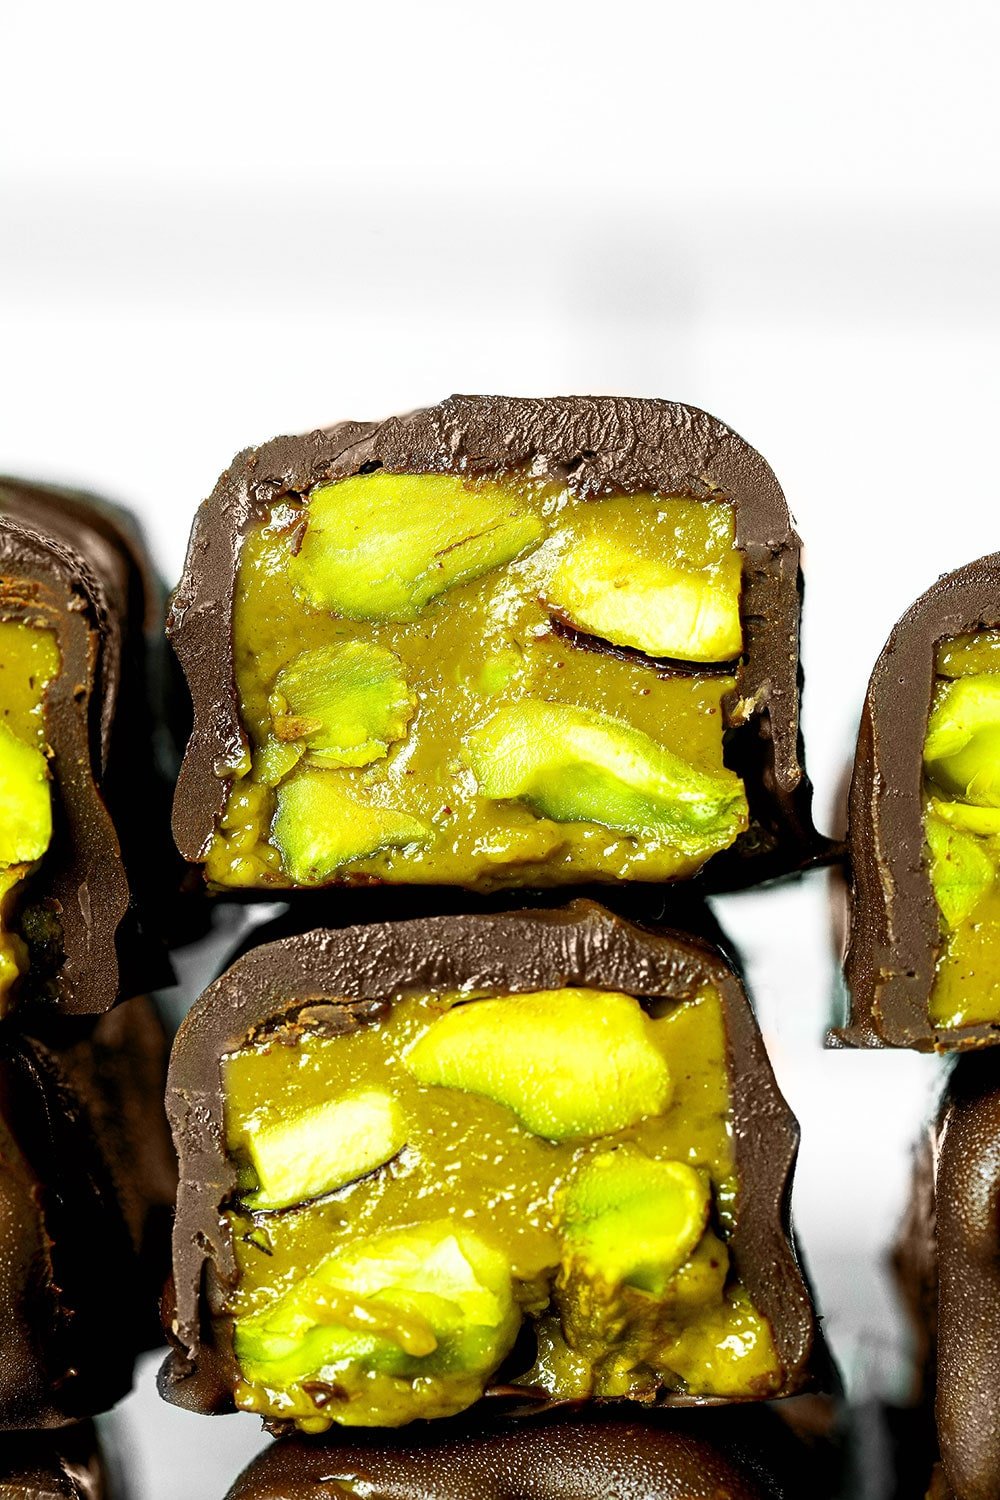
- Dark Chocolate: The star of the show, luscious dark chocolate will make this cake rich and decadent.
- Pistachios: Add a crunch to every bite with these heavenly green nuts.
- Cream Cheese: Creamy goodness that will bind all the flavors together perfectly.
- Whipped Cream: Light and fluffy, whipped cream is the cherry on top of this delightful creation.
Combine these ingredients with a touch of love and a sprinkle of magic, and you’ll have a show-stopping dessert that will impress even the most discerning chocolate connoisseurs.
Instructions for Making the Chocolate Pistachio Base
First things first, gather all your ingredients for this delectable treat. You’ll need a package of chocolate sandwich cookies, shelled pistachios, butter, and a pinch of salt. Don’t worry, this will be a piece of cake, or in this case, a piece of chocolate pistachio base!
Start by crushing the chocolate cookies in a food processor until they resemble fine crumbs. Add in the shelled pistachios and pulse a few times to combine. Make sure not to turn this into pistachio butter, unless you’re into that sort of thing.
Next, melt the butter in a saucepan over low heat, being careful not to burn it. Pour the melted butter into the cookie and pistachio mixture, along with a pinch of salt, and stir until everything is well combined. This will be the glue that holds your base together, just like a good friendship!
Press the mixture into the bottom of a lined baking dish, using the back of a spoon to flatten it out evenly. Pop it into the fridge to chill for at least an hour, or until it’s set. Voila! Your chocolate pistachio base is ready to be the star of the show.

Preparing the Creamy Chocolate Filling
First things first, make sure you have all your ingredients ready to go. You’ll need a block of rich, velvety dark chocolate, some creamy heavy cream, a touch of butter, and a pinch of salt to really bring out that chocolatey flavor.
Start by chopping up the chocolate into small pieces. This will help it melt evenly and smoothly when we add it to the warm cream later. Don’t worry if a piece or two (or five) mysteriously disappear before they make it into the bowl – it’s all part of the baking process!
Next, heat up the cream just until it starts to simmer. This is the perfect time to sneak a taste of the creamy goodness – quality control is very important, after all! Once the cream is hot, pour it over the chocolate and let it sit for a minute before stirring. This will allow the chocolate to melt and mingle with the cream, creating a lusciously smooth filling.
Finally, add a pat of butter and a pinch of salt to the mixture. The butter will add a touch of richness, while the salt will enhance the chocolate flavor. Give everything a good stir until it’s silky and glossy, then try not to eat it all straight from the bowl before it makes it into your delicious dessert!
Assembling the Layers of the Cake
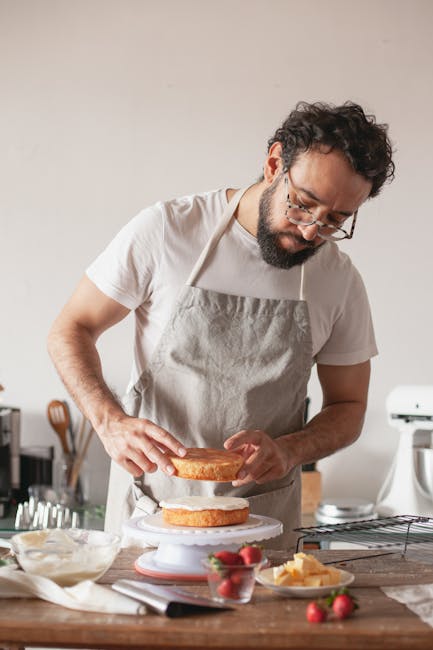
So, you’ve baked your delicious cake layers and now it’s time to assemble them into a show-stopping dessert masterpiece! Get ready to channel your inner architect as we stack and build the layers to create a towering creation that will have everyone drooling.
First up, choose your base layer carefully – this will be the foundation upon which your entire cake will rest. Make sure it’s level and sturdy, like a reliable friend who always has your back. Once you’ve found the perfect base, it’s time to add the filling. Think of it like giving your cake a cozy blanket to snuggle into – whether it’s rich chocolate ganache, fruity jam, or fluffy buttercream, this layer is what will add depth and flavor to each delicious bite.
Next, carefully place the second layer on top, making sure it lines up perfectly with the first. This step requires a steady hand and a keen eye, like a surgeon performing delicate surgery. Once your base and filling are secure, it’s time to repeat the process with each subsequent layer, building your cake higher and higher like a sugary skyscraper reaching for the heavens.
Finally, top off your creation with the last layer and admire your handiwork. Congratulate yourself on a job well done - you’ve successfully assembled the layers of the cake with finesse and flair, creating a dessert that is not only delicious but a feast for the eyes as well. Now, grab a knife, slice into your masterpiece, and let the oohs and ahhs begin!

Finishing Touches and Garnishes
So, you’ve put in all the hard work and now it’s time for those to really make your dish pop! Don’t just settle for a boring plate of food – let’s jazz it up and impress those taste buds!
First up, let’s talk about fresh herbs. Add a sprinkle of parsley, cilantro, or chives to give your dish a burst of color and flavor. Not only do they look fancy, but they also add that extra kick that will have your guests coming back for more.
Next on the list, we have citrus zest. A little bit of lemon or orange zest can really brighten up a dish and bring out the other flavors. Plus, it makes you look like a culinary genius without having to do much work – win-win!
And who can forget edible flowers? Not only do they add a beautiful touch to your plate, but they also add a delicate, floral flavor that will wow your guests. Just make sure they’re actually edible before you go sprinkling them all over your masterpiece!
Serving and Storing the Delicious Dessert
So you’ve whipped up a scrumptious dessert that’s guaranteed to have everyone craving for more. Now comes the tricky part – serving and storing this delightful treat without having it disappear before you can even enjoy a bite. Follow these tips to keep your dessert safe and sound (and away from sneaky dessert thieves).
First things first, grab your fanciest serving dishes and utensils - because presentation is key, right? Who says you can’t make your dessert look Instagram-worthy, even if it’s just for your own eyes (and taste buds)? Get creative with your plating and garnishes, and don’t forget the sprinkle of edible glitter for that extra pizzazz.
Once you’re done admiring your masterpiece, it’s time to think about storing any leftovers (if there are any). We all know how important it is to keep your dessert fresh for seconds (or thirds) later. So, remember to:
- Wrap it up: Use cling wrap or an airtight container to protect your dessert from any unwanted odors or moisture.
- Chill out: If your dessert needs to be refrigerated, make sure to cover it properly to prevent it from absorbing any funky smells from the fridge.
- Label it: Write the date on your dessert container - not because it’ll last that long, but just in case you forget how amazing it was.
FAQs
How easy is it to make this decadent no-bake chocolate pistachio cake?
So easy, a caveman could do it! Just kidding, but really, all you have to do is mix, layer, and refrigerate. No baking required!
What ingredients do I need to make this chocolatey masterpiece?
Get ready to raid your pantry for some chocolate cookies, cream cheese, pistachios, chocolate chips, sugar, and butter. It’s like a treasure hunt for your taste buds!
Can I substitute any ingredients if I don’t have them on hand?
Sure thing! Feel free to swap out the pistachios for your favorite nut, or use a different type of cookie for the crust. Get creative and make it your own!
How long do I have to wait before I can devour this cake?
We know it’s hard to resist, but this cake needs to chill in the fridge for at least 4 hours. It’s like waiting for Christmas morning, but with chocolate instead of presents!
Can I make this cake ahead of time for a special occasion?
Absolutely! In fact, this cake gets even better with time. Make it a day or two in advance and let those flavors really meld together for a show-stopping dessert.
Is there a way to make this cake healthier?
We’re all about balance here, so if you want to lighten things up a bit, try using a low-fat cream cheese or reducing the sugar. But hey, life’s too short not to indulge in a little decadence now and then!
—
Indulge in Decadence!
Congratulations on discovering this sinfully delicious no-bake chocolate pistachio cake recipe! Now that you have the power to whip up this decadent dessert whenever your heart desires, there’s no excuse not to satisfy your sweet tooth on a regular basis. So go ahead, treat yourself to a slice (or two) of this heavenly creation and revel in its rich, creamy goodness. Just remember, with great dessert comes great responsibility…to share with your friends and family, of course! Enjoy every bite and bask in the glory of your newfound baking prowess. Happy feasting!