
In a world filled with trendy desserts and elaborate pastry creations, there’s something comforting and timeless about good old-fashioned diner-style pie. But mastering the art of creating the perfect flaky crust and luscious filling is no easy feat. It takes a skilled hand, a sharp eye, and a bottomless appetite for deliciousness. So grab your rolling pin and buckle up, because we’re about to embark on a delicious journey of pie-making mastery that would make even Grandma proud.
Contents
Key Ingredients for Classic Diner-Style Pie Making
Let’s face it, classic diner-style pie making is an art form. You need the perfect mix of ingredients to achieve that delicious, comforting slice of pie that takes you back in time. Here are some key ingredients that every pie maker should have in their arsenal:
Fresh Fruit: Whether it’s ripe, juicy peaches or tart, crisp apples, fresh fruit is the star of any classic pie. Don’t skimp on quality – your taste buds will thank you!
Butter: Real butter makes all the difference in creating that flaky, flavorful pie crust that dreams are made of. Don’t even think about substituting with margarine – we can taste the difference, and we’re not happy about it.
Sugar: A little sweetness goes a long way in making a pie that will have your friends and family begging for seconds. Just remember, it’s all about balance – too much sugar and you’ll have a toothache before you finish your first slice!
Choosing the Right Crust: Flaky and Perfect Every Time
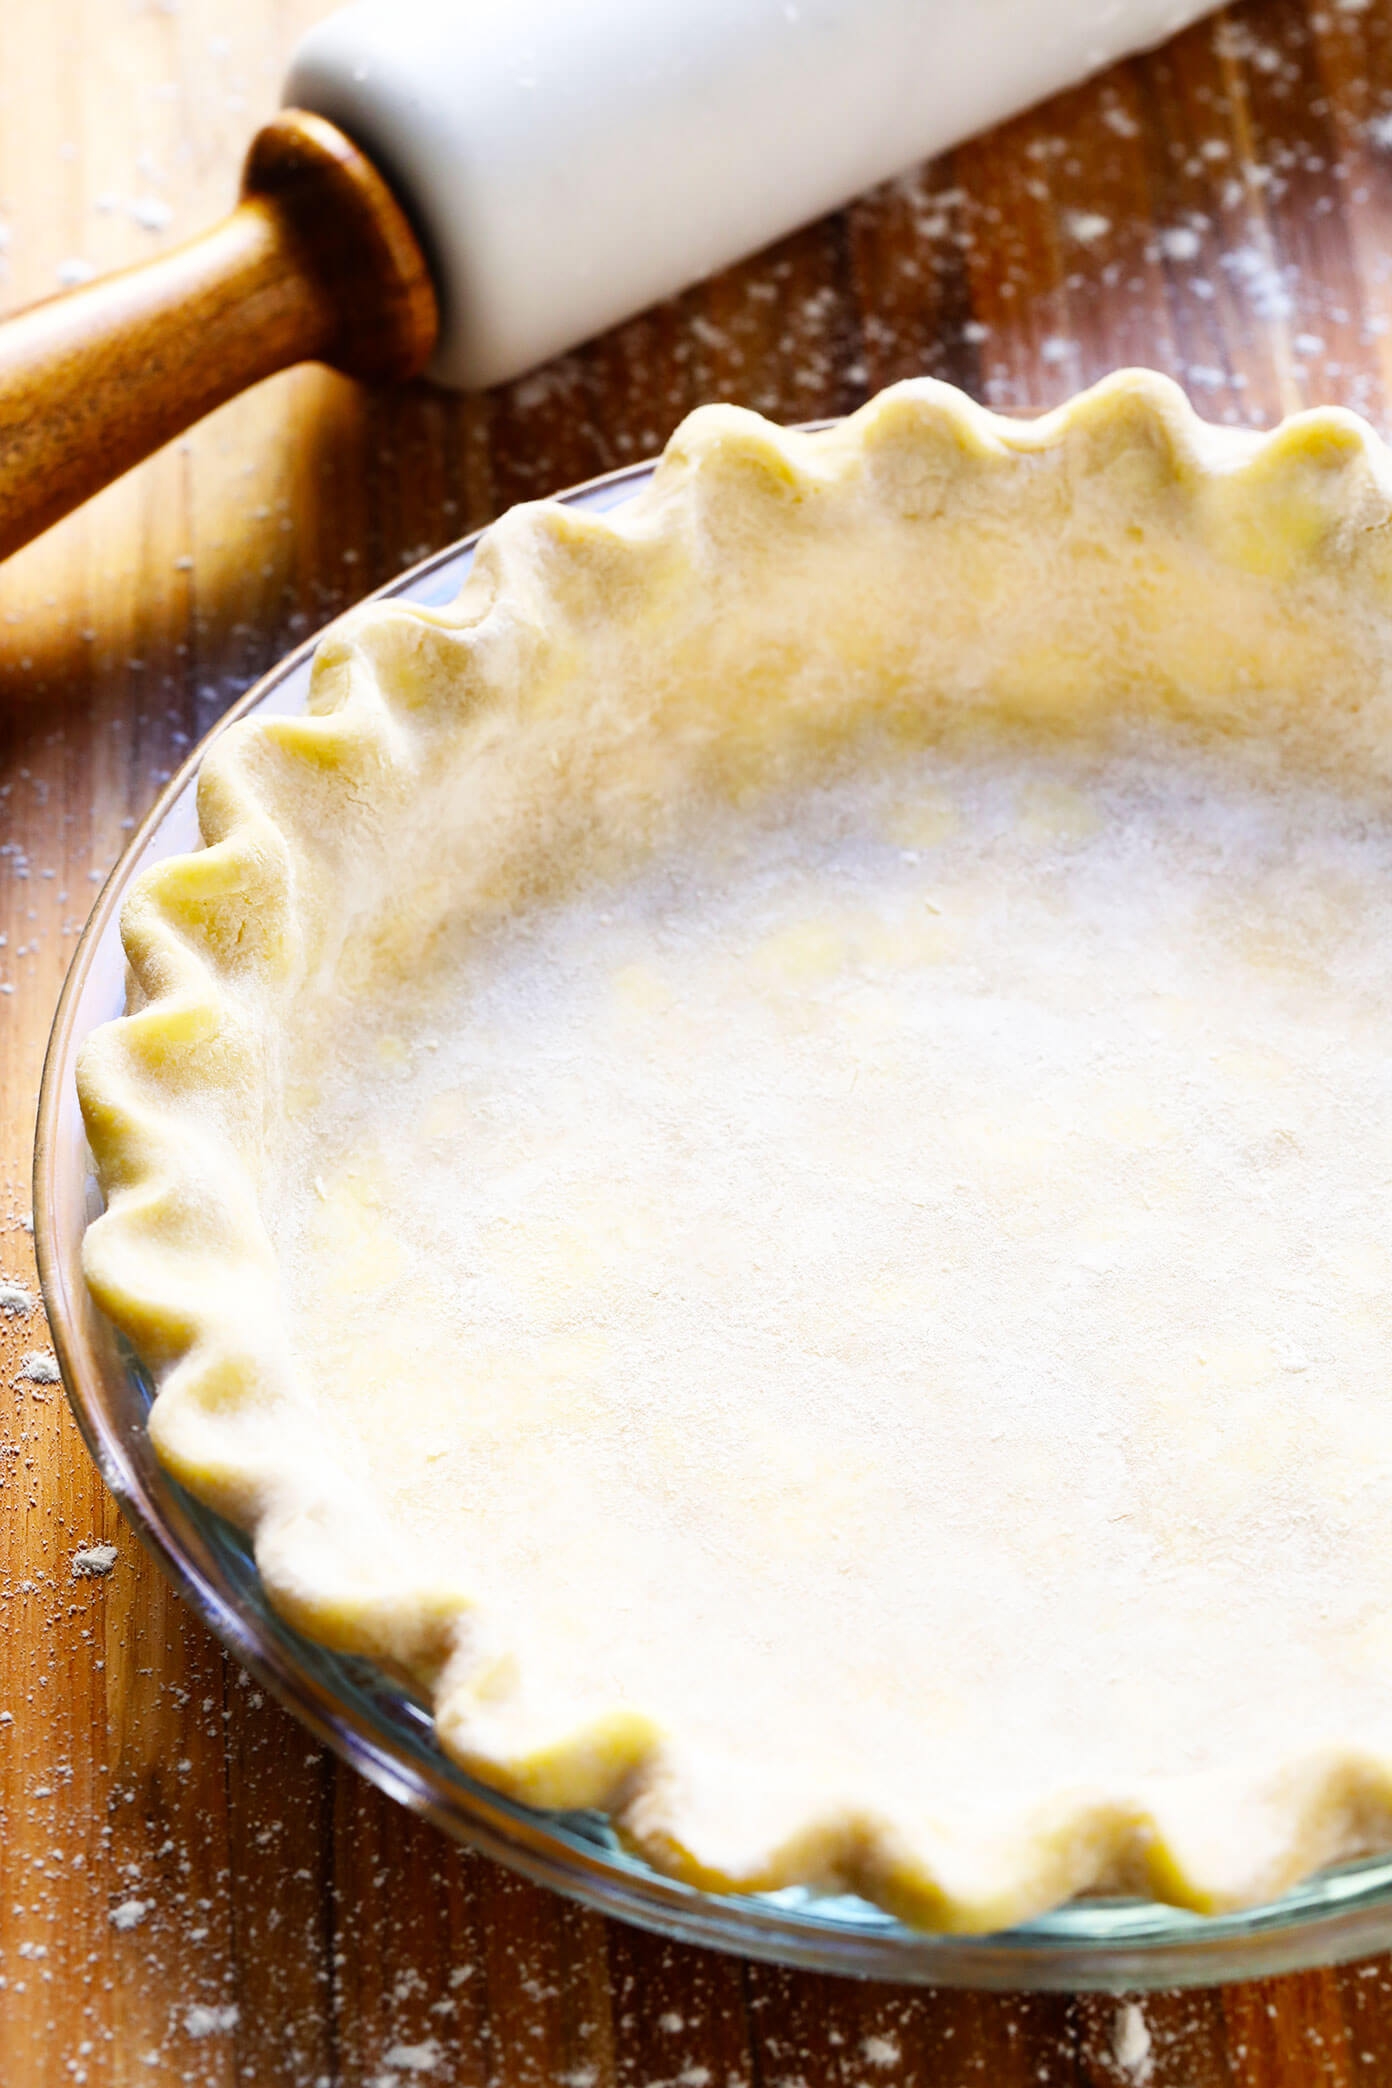
When it comes to crafting the perfect pie, choosing the right crust is essential. You want a crust that is flaky, buttery, and holds together without crumbling into a mess. With these tips, you can create a crust that will have everyone coming back for seconds.
First and foremost, make sure you are using the right ingredients. Quality flour, cold butter, and ice-cold water are the keys to a flaky crust. Don’t skimp on the butter - after all, who doesn’t love a little extra flakiness? And remember, lard is your friend if you want to take your crust to the next level.
When it comes to rolling out your dough, don’t be afraid to get a little creative. A marble pastry board and a good rolling pin can make all the difference in creating a crust that is uniform in thickness. And don’t forget to chill your dough before rolling it out – a cold crust is the key to a flaky finish.
Finally, don’t forget the finishing touches. A little egg wash can give your crust that beautiful golden sheen, while a sprinkle of coarse sugar can add a touch of sweetness. And if you really want to impress your guests, try adding a decorative edge to your crust – a braided edge or a lattice top will take your pie to the next level.
Mastering the Art of Filling: Sweet vs Savory
When it comes to the age-old dilemma of sweet vs savory fillings, it can be a tough decision to make. Should you go for the classic sweetness of a cream-filled donut or the savory satisfaction of a bacon and cheese kolache? Fear not, aspiring fillers, for we are here to guide you through the art of mastering both!
For those with a sweet tooth, the options are endless. From custards to fruits to Nutella, the possibilities are as limitless as your imagination. To truly master the sweet filling game, consider the following:
- Mix it up: Don’t be afraid to experiment with different flavor combinations, like peanut butter and jelly or salted caramel.
- Texture is key: Consider adding crunchy elements like nuts or cookie crumbles to add another dimension to your fillings.
- Go big or go home: Don’t be shy when it comes to filling your pastries. The more, the merrier!
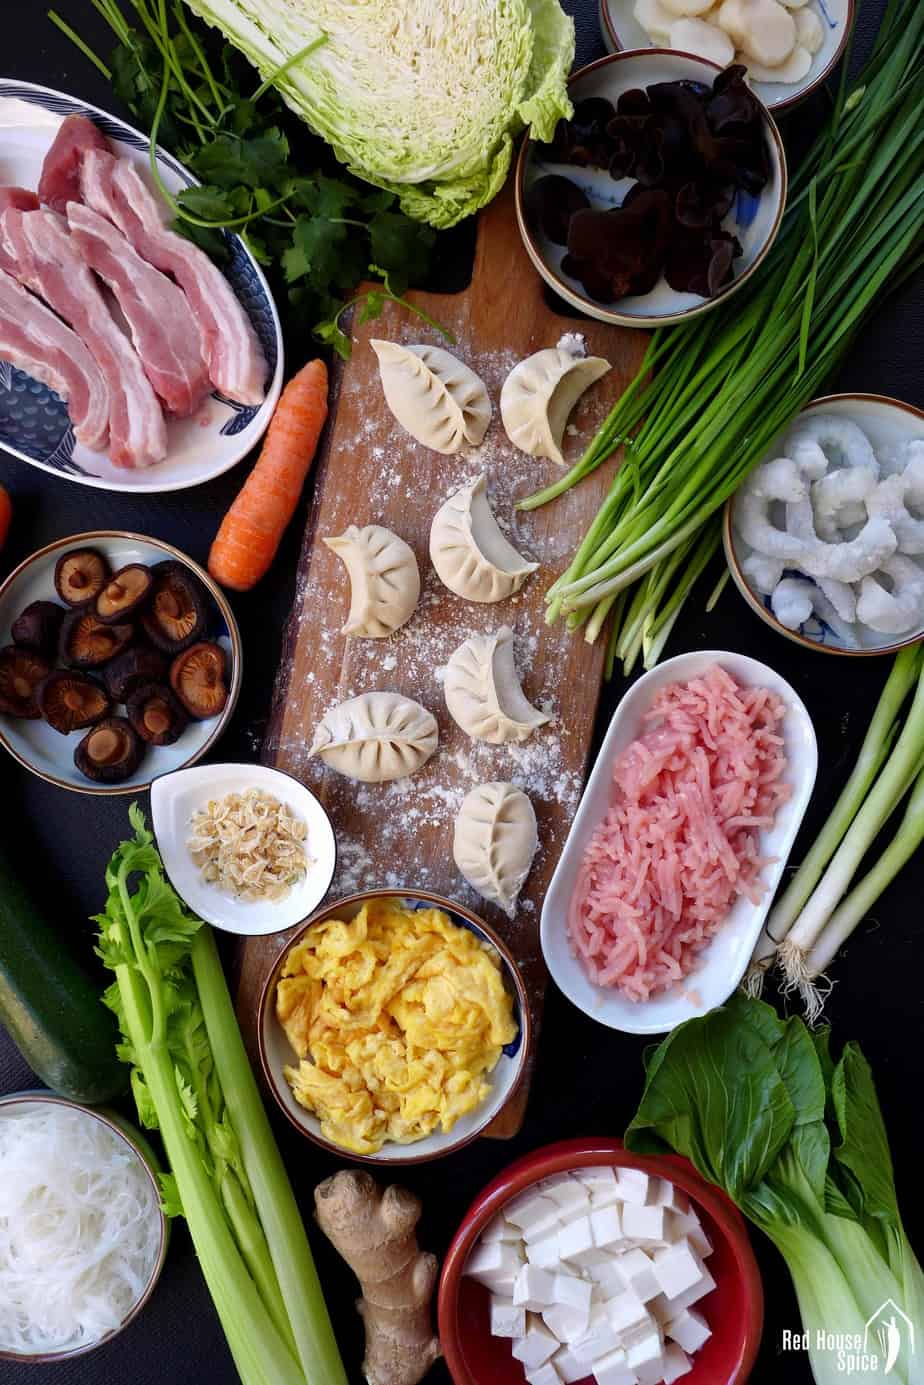
On the savory side, the game is just as exciting. Whether you’re a fan of meat and cheese or veggies and hummus, there’s a world of possibilities waiting for you. To master the savory filling art, keep these tips in mind:
- Balance is key: Make sure to balance out strong flavors like bacon or blue cheese with milder ingredients like avocado or mozzarella.
- Don’t forget the spices: A sprinkle of paprika or a dash of garlic powder can take your savory filling to the next level.
- Think outside the box: Consider unconventional fillings like pulled pork or buffalo chicken for a unique twist on traditional savory pastries.
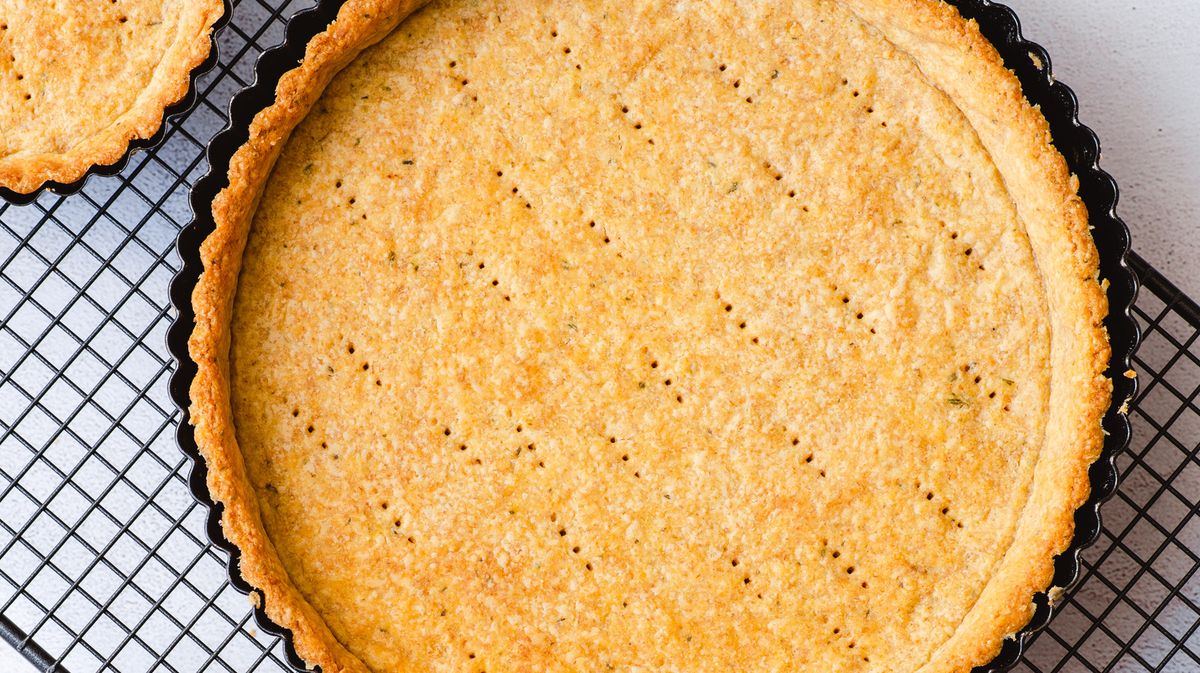
Baking Techniques: Achieving a Perfectly Golden Crust
Want to achieve that perfectly golden crust on your baked goods? Look no further! With a few clever baking techniques, you can turn your creations into works of art that are not only delicious but also aesthetically pleasing. Here are some tips to help you achieve that golden perfection:
- Preheat your oven: One of the most important steps in achieving a golden crust is making sure your oven is nice and hot before you put your goodies in. This will help crisp up the exterior of your baked goods quickly, giving them that beautiful golden color.
- Use egg wash: Brushing your pastries or bread with an egg wash before baking can help create a glossy, golden finish. Simply beat an egg with a splash of water, milk, or cream, and brush it on the surface of your baked goods before popping them in the oven.
- Try a sprinkle of sugar: For sweet treats like fruit pies or muffins, sprinkle a little sugar on top before baking. The sugar will caramelize in the oven, creating a shiny, golden crust that adds a touch of sweetness and crunch.
By following these simple baking techniques, you’ll be well on your way to achieving that perfectly golden crust on all your favorite baked goods. So go ahead, preheat that oven, brush on that egg wash, and sprinkle on some sugar – your creations will thank you!

Perfecting the Presentation: Tips for Beautifully Decorated Pies
So, you want to take your pie game to the next level? Well, you’ve come to the right place! Here are some tips to help you beautifully decorate your pies like a pro:
Use Cookie Cutters: Cookie cutters aren’t just for cookies! Use them to create fun shapes out of pie dough to create intricate designs on the top of your pie. Stars, hearts, and even dinosaurs can take your pie from plain to fabulous in no time.
Get Creative with Crust: Don’t limit yourself to a basic lattice crust. Try braided crust, cut-out shapes, or even an ombre effect with different shades of dough. The crust is the perfect canvas for your artistic expression!
Add Some Bling: A sprinkle of coarse sugar or some edible glitter can take your pie to the next level. Not only does it add a touch of sparkle, but it also gives your pie a delicious crunch with every bite. Who said pies couldn’t be glamorous?
Troubleshooting Common Pie-Making Mistakes: Solutions for a Perfect Dessert
So you’ve attempted to make a delicious pie, only to end up with a tough crust or a soupy filling? Don’t worry, we’ve all been there! But fear not, because we have the solutions to all your pie-making woes.
First things first, let’s address the issue of a tough crust. This common problem can occur when the dough is overworked, causing gluten to develop and result in a chewy texture. To avoid this, make sure to handle the dough gently and avoid excessive kneading. Additionally, refrigerating the dough for at least 30 minutes before rolling it out can help relax the gluten and prevent toughness.
Next up, let’s talk about the dreaded soggy bottom crust. Nothing ruins a pie faster than a soggy crust that turns into a mushy mess. To prevent this, try pre-baking the crust before adding the filling. This will create a barrier between the wet filling and the crust, keeping it crisp and flaky. Another tip is to sprinkle a thin layer of breadcrumbs or finely ground nuts on the bottom of the crust before adding the filling to absorb excess moisture.
Lastly, if you’re dealing with a runny filling that refuses to set, there are a few tricks you can try. One solution is to mix in a tablespoon of cornstarch or flour with the filling to help thicken it up. Another option is to bake the pie for a bit longer than the recipe calls for, allowing the filling to cook and set properly. And don’t forget to let the pie cool completely before cutting into it, as the filling will continue to thicken as it cools.
FAQs
Why is mastering classic diner-style pie making important?
Because who needs to spend money at a fancy bakery when you can whip up a delicious pie right in your own kitchen?
What are some key tips for achieving the perfect flaky pie crust?
First, keep your butter cold and don’t overwork the dough. And remember, a little bit of vodka in the crust never hurt anyone!
How can I ensure my fruit filling doesn’t turn out too watery?
A sprinkle of cornstarch or flour in your fruit filling can help thicken things up. And don’t forget to let those juicy fruits macerate with some sugar before baking!
What’s the secret to getting that picture-perfect lattice crust?
Take your time weaving those strips of dough and be sure to brush on an egg wash for that golden-brown finish. And hey, if it looks a little wonky, just call it rustic!
How can I add a fun twist to classic diner-style pies?
Toss in some unexpected ingredients like bacon or bourbon for a modern spin on your favorite classic pies. Your taste buds will thank you!
—
Time to Roll Up Your Sleeves and Bake!
Congratulations, pie master! Armed with the knowledge and skills to conquer classic diner-style pie making, you are ready to impress friends and family with your delicious creations. Remember, practice makes perfect, so don’t be afraid to experiment and try out new recipes. Before you know it, you’ll be whipping up pies that would make even your grandma proud. So roll up your sleeves, preheat that oven, and get ready to embark on a delicious pie-making journey. Happy baking!


