
Attention all dough enthusiasts and pizza lovers! Are you tired of your crust coming out tougher than a stale baguette? Are you fed up with your dough not rising to the occasion, leaving you with a flat and lifeless pie? Fear not, because we are here to school you in the art of kneading. Get ready to roll up your sleeves, flour up your hands, and dive into the world of perfecting pizza dough like a true dough-whisperer. Say arrivederci to mediocre crust and buongiorno to your new and improved pizzeria skills. It’s time to knead it till you succeed it!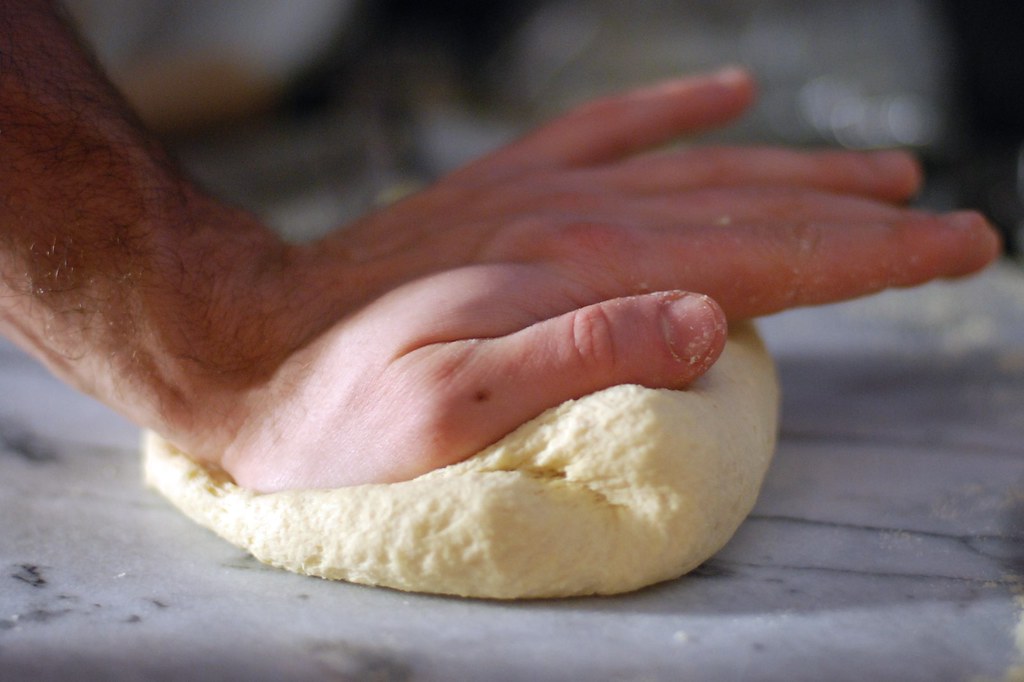
Contents
Choosing the Right Flour for Your Pizza Dough
When it comes to making the perfect pizza dough, choosing the right flour is crucial. With so many options available, it can be overwhelming to know which one to pick. Here are some tips to help you select the best flour for your pizza:
First and foremost, you want to look for a flour that has a high protein content. This will give your dough the strength and elasticity it needs to rise properly and hold its shape. Aim for a protein content of at least 12% for the best results.
Next, consider the texture you want in your pizza crust. If you prefer a chewier, more rustic crust, opt for a coarser flour such as semolina or whole wheat. For a softer, more delicate crust, go for a finer flour like tipo 00 or all-purpose.
Don’t be afraid to experiment with different flours to find the perfect one for your pizza. Mix and match to create your own unique blend, or try a specialty flour like spelt or rye for a twist on the classic. Remember, the key to a great pizza dough is choosing the right flour – so have fun and get creative!
Understanding the Importance of Water Temperature in Dough Preparation
When it comes to dough preparation, the temperature of the water you use can make all the difference. Think of it like dating – if you come on too hot, you’ll scare it off. But if you play it cool, you’ll get the perfect rise every time. Here’s why water temperature matters more than your favorite pizza topping:
Flour Power: Just like a plant needs sunlight to grow, yeast needs warmth to activate. Using water that’s too hot can kill the yeast, leaving you with a sad, flat loaf of bread. On the other hand, water that’s too cold can put your yeast to sleep, resulting in a dough that never rises to the occasion.
H2-Oh-No: Water temperature also affects the gluten in your dough. If it’s too warm, the gluten can break down too quickly, leaving you with a sticky mess. But if it’s too cold, the gluten won’t develop properly, and your dough will be tough as nails.
The Goldilocks Zone: So, what’s the magic number when it comes to water temperature? Aim for around 110-115°F for most recipes. Not too hot, not too cold – just right. And remember, practice makes perfect. So keep experimenting until you find the sweet spot for your dough. Happy baking!

Mastering the Technique of Properly Kneading Pizza Dough
So, you’ve decided to take your pizza-making skills to the next level by learning the art of kneading pizza dough properly. Congratulations! This is a crucial step in the pizza-making process that can make or break your pie. But fear not, with a little practice and some insider tips, you’ll be on your way to pizza perfection in no time.
First things first, you’ll want to gather your ingredients and get ready to get your hands dirty. Making pizza dough from scratch is a messy job, but someone’s got to do it, right? So roll up your sleeves, put on your favorite apron, and let’s get to work!
- Start by sprinkling a generous amount of flour on your work surface to prevent the dough from sticking.
- Take your ball of dough and begin to push it away from you using the heel of your hand. This helps to stretch out the gluten and develop that oh-so-important chewy texture.
- Fold the dough back onto itself, give it a quarter turn, and repeat. Remember, practice makes perfect! Don’t be afraid to get a little rough with it.
And there you have it – the secret to . Now go forth, young pizza padawan, and create the most delicious pies your friends and family have ever tasted!

The Role of Resting Periods in Achieving the Perfect Dough Consistency
So, you’ve finally decided to embark on the journey of making the perfect dough. Congratulations, you brave soul! But here’s a little secret that not many people know – the key to achieving that elusive perfect dough consistency lies in the magical resting periods.
Think of resting periods as the dough’s version of a luxurious spa day. It’s a time for the gluten to relax and stretch out, for the flavors to mingle and get acquainted, and for the dough to gather its strength for the final stretch. Without these crucial resting periods, your dough will be as tight and tense as a stressed-out squirrel trying to fit into skinny jeans.
During the resting periods, the dough undergoes a transformation akin to a caterpillar turning into a beautiful butterfly (well, maybe not that dramatic, but you get the idea). The gluten strands align themselves, the dough becomes more pliable and easier to work with, and the end result is a dough that is pillowy soft, perfectly elastic, and oh-so-satisfying to touch.
So, the next time you’re tempted to rush through the resting periods in your quest for the perfect dough, remember - good things come to those who wait. Embrace the resting periods, cherish them, and watch in awe as your dough transforms into something truly magical.

Fine-Tuning Your Pizza Dough through Temperature and Time Control
So you think you’ve mastered the art of pizza making, huh? Well, think again! Fine-tuning your pizza dough is like playing a game of chess – one wrong move and it’s game over. But fear not, my friends, for I have the secret to perfect pizza dough: temperature and time control.
First things first, let’s talk temperature. You want your dough to be just like Goldilocks’ porridge – not too hot, not too cold, but just right. Too warm and your dough will rise too quickly, leaving you with a sad, deflated crust. Too cold and your dough will be as stiff as a board. Aim for that sweet spot – around 75-80°F – and your dough will be light, airy, and oh so delicious.
Now onto time control. Like a fine wine or a stinky cheese, pizza dough needs time to develop its flavors. Give it at least 24 hours in the fridge to really let those flavors mingle and dance together. But be warned – too long in the fridge and your dough will become overproofed and sour. Ain’t nobody got time for that!
So there you have it, folks – the secret to perfect pizza dough lies in temperature and time control. Follow these tips, and you’ll be well on your way to pizza perfection. Bon appétit!
Troubleshooting Common Dough Kneading Mistakes
So you’ve found yourself kneading dough and everything seems to be going wrong? Don’t worry, it happens to the best of us. Here are some common dough kneading mistakes and how to troubleshoot them:
- Not enough flour: If your dough is too sticky and you can’t seem to knead it properly, chances are you didn’t use enough flour. Add a little more flour, but be careful not to overdo it. You don’t want to end up with a rock hard loaf of bread!
- Over-kneading: Are you kneading your dough like you’re trying to start a fire with it? Slow down there, buddy. Over-kneading can lead to tough, dense bread. Give your dough some room to breathe and relax.
- Skipping the resting period: Patience is a virtue, especially when it comes to dough. Let your dough rest for a bit before kneading again. This will give the gluten time to relax and make your dough easier to work with.
Remember, dough kneading is an art form. It takes practice and patience to perfect. Don’t be too hard on yourself if you make mistakes along the way. Just keep calm and knead on!
Elevating Your Pizza Making Skills with Advanced Kneading Techniques
So you think you’ve mastered the art of pizza making, huh? Well, let me tell you, there’s always room for improvement! Elevate your skills by incorporating advanced kneading techniques into your pizza making routine. Not only will this step take your pizza to the next level, but it will also impress your friends and family with your newfound dough expertise.
First things first, let’s talk about the Fork Kneading method. This technique involves using a fork to mix and knead the dough, creating a light and airy texture that will make your crust oh-so-delicious. Simply mix your ingredients in a bowl and then use a fork to gently fold the dough over itself until it forms a smooth ball. Who needs a fancy mixer when you have a trusty fork?
Next up, let’s discuss the Slap and Fold technique. This method involves vigorously slapping the dough onto a work surface and then folding it over itself. Repeat this process for several minutes until the dough becomes elastic and smooth. You’ll feel like a pizza-making pro as you slap and fold your way to pizza perfection!
And last but certainly not least, we have the Stretch and Fold method. This technique involves gently stretching the dough and then folding it back onto itself. Continue to stretch and fold the dough until it reaches the desired consistency. Your pizza crust will have a beautiful, chewy texture that will make your taste buds sing with joy. So go ahead, stretch and fold your way to pizza greatness!
FAQs
How long should I knead my pizza dough for?
Just like a fine wine, pizza dough needs time to develop its flavors. Give it a good 10-15 minutes of kneading to really bring out its best self.
What’s the secret to a perfectly kneaded pizza dough?
Pretend you’re in a dough-kneading competition and really give it your all. Use the heel of your hand to push and fold the dough, turning it as you go. Think of it as your own personal doughy dance party!
Can I over-knead my pizza dough?
While it’s pretty hard to ruin pizza dough (it’s practically foolproof), there is such a thing as over-kneading. Once your dough is smooth, shiny, and elastic, you can stop. No need to turn it into a gluten-filled rubber band!
Should I let my pizza dough rest after kneading?
Your pizza dough has been through a lot with all that kneading. Give it some time to relax and unwind by letting it rest for about 30 minutes before rolling it out. A little R&R goes a long way in the world of dough!
What’s the best way to knead pizza dough if I don’t have a stand mixer?
Your hands are your best tools when it comes to kneading pizza dough. Get in there and give it some love! Imagine you’re a superhero saving the day, one knead at a time. Plus, you’ll be getting in a killer arm workout. Win-win!
—
In conclusion, embrace the art of kneading to master the perfect pizza dough!
So next time you’re feeling the urge to order takeout, channel your inner pizza artist and give kneading a try. You never know, you might just discover a newfound love for the doughy process. Who knows, maybe you’ll even become the next Michelangelo of pizza making! Create, knead, and enjoy your delicious creation. Let the crust be your canvas and the toppings be your paint. Happy kneading!

